COVID-19 Practice Policy For Our Patients
STEVEN A. BATTAGLIA, M.D.JORDAN M. SUKYS, M.D.
PAUL J. FRUHNER, PA-CSTEPHANIE A. SCHWARTZ, PA-C
626.796.6164 10 Congress St., Suite 103Pasadena, CA 91105
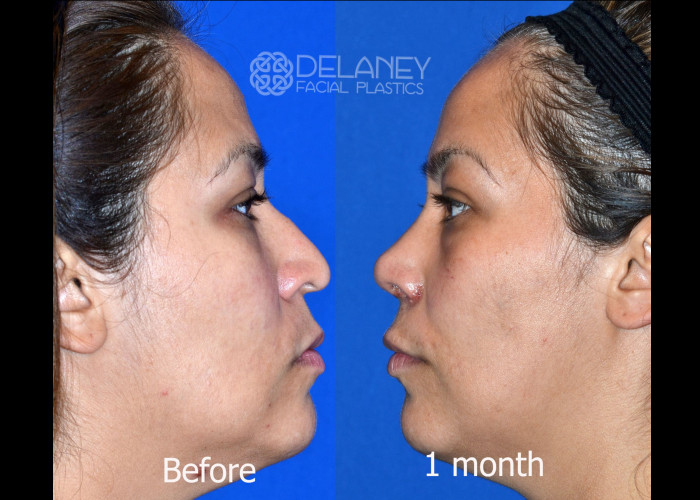
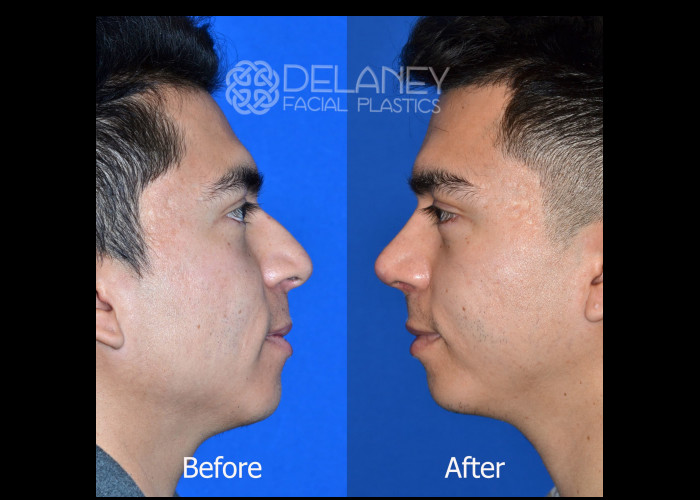
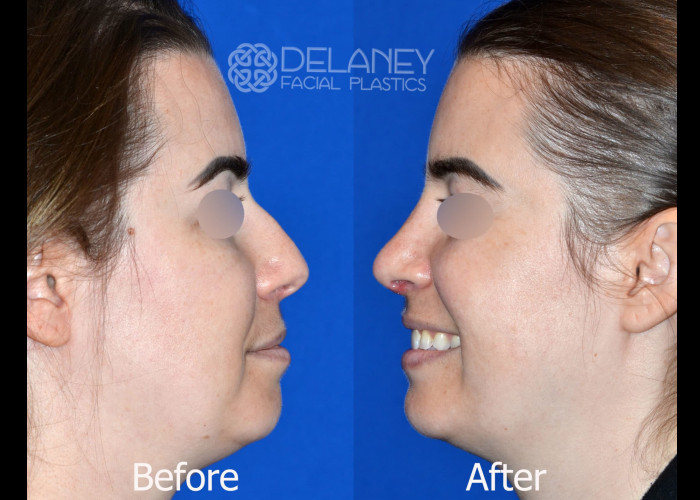
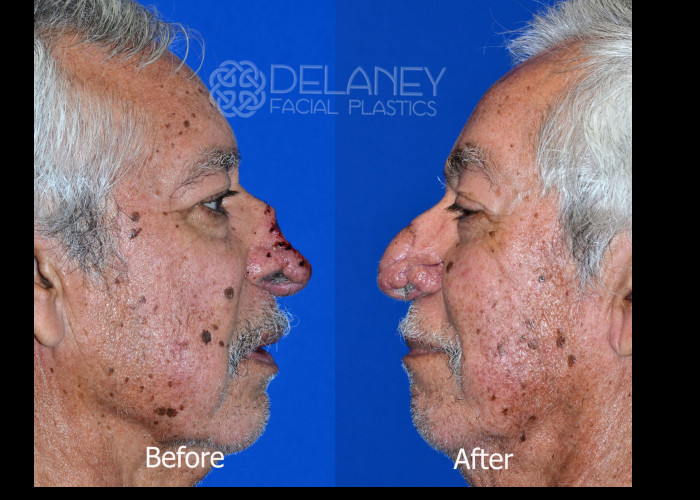
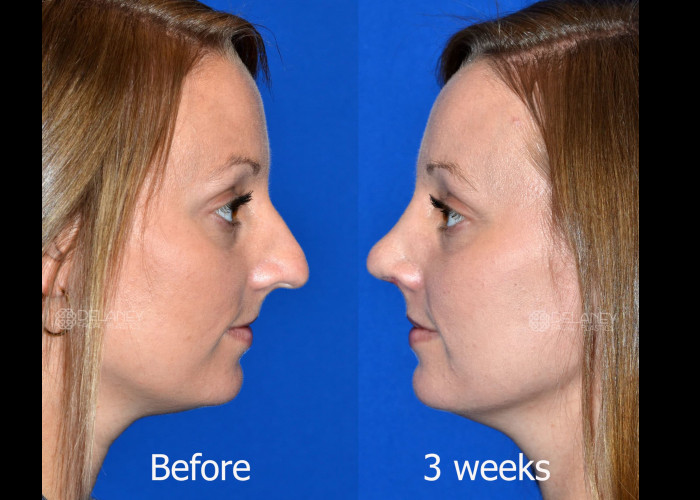
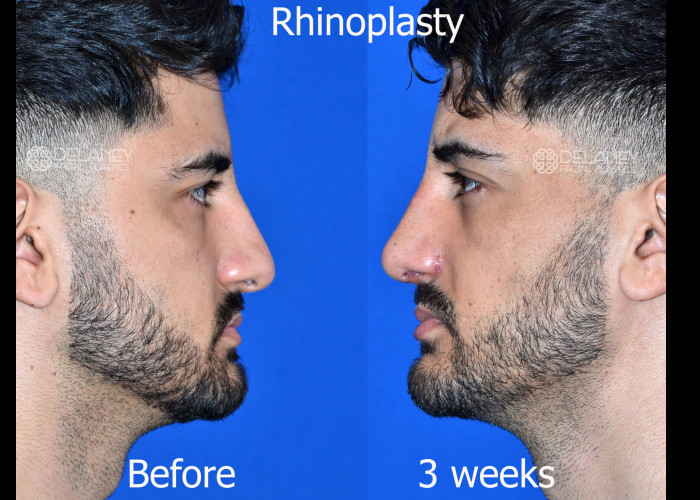
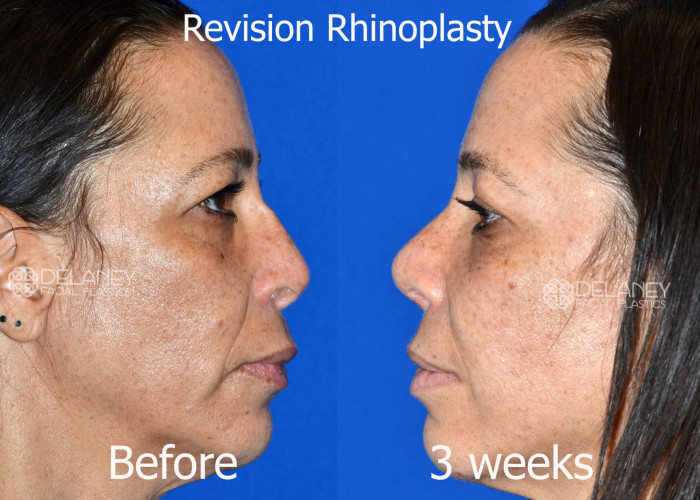
Click Images below for a more detailed view. Individual results may vary.
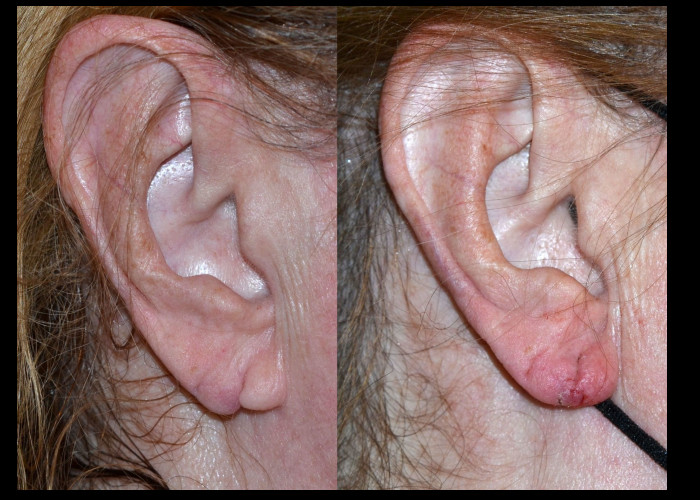
Caution: Graphic Image